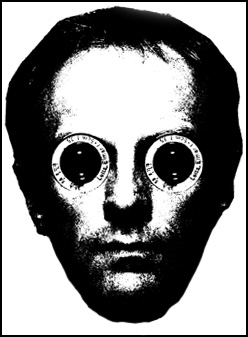
The biggest disadvantage of those methods is that some types of image i.e portraits need sharpening to be applied only to certain areas, eyes or hair- but certainly not skin or other picture elements that may cause artifacts to appear.
The following method is sometimes referred to as 'High Pass' sharpening and can be used to target areas that we wish to sharpen.
Here is my tutorial.
Firstly make a duplicate layer by going to the layers pallet and dragging the background layer onto the create new layer icon:

This will create a layer called 'backgound copy' after which we change the mode from normal to overlay
The next step is to apply the High Pass filter, by going to the top menu-bar and selecting Filter > Other > High Pass.
This brings up the following Dialogue box.

In this box we need to set the Radius I normally use a Radius of 1-3 where the larger number will give the strongest sharpening. In this tutorial I selected 1.5.
Now we need to bring up the colour picker tool which can be done by left clicking the foreground colour in the tools pallet
to bring up this box:

Now enter 50% in the Brightness box of the HSB boxes to give a mid-grey.

Now were ready to work on our image. We now select the brush tool and use it to paint the High Pass layer to remove unwanted sharpening on skin or smooth toned objects that may show noise or artifacts.
If you find that you have slightly over sharpened your image you can go to the layers pallet and lower the opacity to reduce the overall effect, and because we are doing this on a layer it is non destructive.

There are some caveats with using this method, Firstly if your image has lots of artifacts because it is a heavily compressed jpg or if there is color fringing this method may cause some issues. In this case you can set the high pass layer to 'soft light'.
The method is very useful though and is certainly better than the standard unsharp-mask method.
1 comment:
The instructions shared through this tutorial is really well explained. Keep blogging and thanks.
Regards,
image masking services
Post a Comment